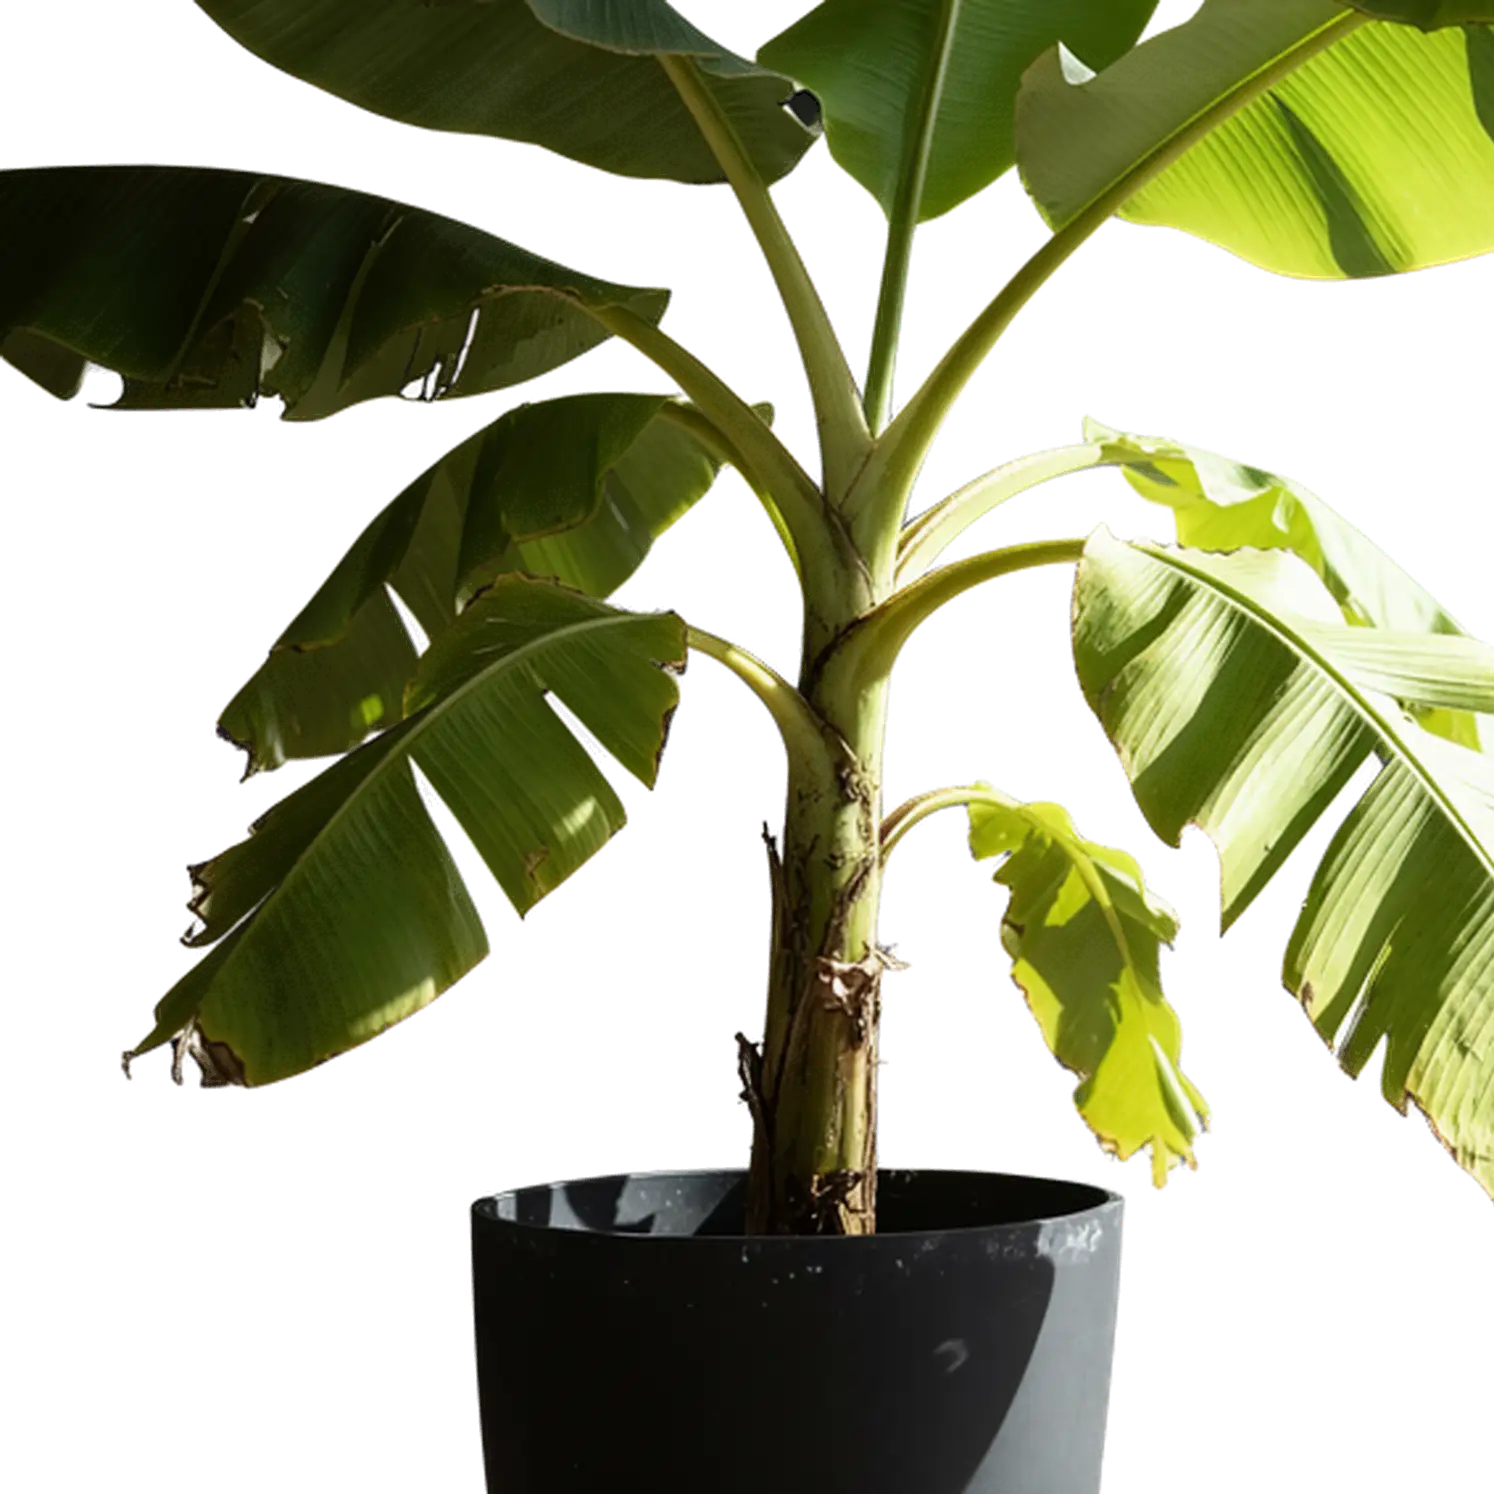

Remove Background Online with AI
Make Image Transparent’s AI Background Remover is an online cutout tool for photos, product images, portraits, logos, and graphics. Upload one image and it identifies the foreground, removes the existing background, and returns the preserved subject on a transparent background for reuse in other layouts. Unlike Remake Image, this workflow does not create a new interpretation of the source, making it the better choice when the original product, face, lettering, or artwork needs to remain recognizable.
What the AI Background Remover Changes—and What It Keeps
Background removal is a foreground-isolation workflow. The tool separates the subject that should remain from the surrounding area that should disappear. That distinction matters because a direct cutout and a generative remake may both produce transparency, but they do not produce the same kind of image.
The foreground remains the source
The tool works from the image you upload and preserves the visible person, product, object, logo, or group of subjects as the foreground. It does not ask for a prompt or redesign the content. Use this route when identity, product detail, lettering, or the exact look of the source matters more than creative variation.
The background becomes transparent
Pixels outside the detected foreground become transparent instead of being replaced with a white rectangle or a newly generated scene. The checkerboard in the result preview helps you see the transparent area before download. The finished transparent PNG can then sit over another color, image, presentation slide, store layout, or design canvas.
The result is a cutout, not a new interpretation
An AI background remover decides which parts belong to the foreground boundary, including partially transparent edge areas. It may change the transparency around the subject, but it is not intended to reconstruct the subject as new artwork. If you want AI to rebuild an image or create a transparent asset from text, use Transparent Image Maker instead.
How to Remove a Background Online
Use the workspace above for one focused job: upload an existing image, remove its background, and download the isolated foreground.
Upload one source image
Choose a PNG, JPG, or WEBP image up to 10MB. Use the clearest version available and make sure the subject you want to keep is fully visible. A complete outline gives the background remover more useful edge information than a tightly cropped or heavily compressed source.
Remove the existing background
Select Remove background after the upload is ready. The AI analyzes the image, separates the intended foreground from its surroundings, and creates transparent space around the subject. No prompt, manual tracing, or generative style direction is required.
Review the cutout and download
Compare the Before and After views, inspect important edges against the transparency grid, and download the result when the foreground looks right. Your completed cutouts also remain available in the page’s History view, so you can return to a recent result during the same workflow.
Choose a Source That Gives the AI a Clear Boundary
Background removal is easiest to evaluate when the source makes the foreground visually understandable. You do not need a studio photograph, but the following choices give the tool a better basis for deciding what stays and what becomes transparent.
Keep the complete foreground visible
Leave enough room around hair, hands, shoes, product corners, handles, cables, leaves, or accessories that should remain in the cutout. If a detail is already outside the frame, a background remover cannot restore it. A comfortable margin also makes the final image easier to position in another layout.
Separate the subject from the backdrop
A subject that differs from the background in color, brightness, texture, or focus usually presents a clearer boundary. White products on white surfaces, dark clothing against dark walls, and transparent objects over patterned scenes require more careful review because foreground and background cues overlap.
Use a sharp source for fine details
Hair, fur, lace, jewelry, thin frames, small lettering, and narrow product parts depend on visible edge information. Start from the highest-quality version you have rather than a thumbnail or a repeatedly compressed copy. Extra source detail gives the resulting transparency a stronger foundation.
Make grouped subjects intentional
When several people or objects should remain together, show them as one clear foreground group. Large gaps, overlapping background objects, or unrelated items near the main subject can make the intended cutout less obvious. Crop away distractions before uploading when they are not part of the asset you want.
Complex Edges Worth Checking Before Download
Soft, translucent, or blurred boundaries contain more mixed foreground and background information than a solid outline. A focused review helps you decide whether the cutout fits its destination.
Hair and fur
Fine strands create soft boundaries rather than a single hard outline. Review them over both a light and dark background when they are important to the image. Strong focus and visible contrast in the source help those edge details read more clearly.
Glass, smoke, veils, and translucent materials
A transparent object contains both foreground detail and visible background. The tool has to estimate that mixed boundary, so inspect translucent areas rather than judging only the outer silhouette. Choose the result based on how it looks in the layout where you plan to use it.
Shadows and reflections
A cast shadow or reflection may be part of the desired product presentation, or it may belong to the old environment. Decide what the reusable asset should contain before you upload, then check whether the result matches that intent. A simpler source reduces ambiguity.
Motion blur and compression
Blurred edges and blocky compression hide the exact transition between the subject and its surroundings. Use a sharper frame or a cleaner original when possible. If only a small preview is available, avoid enlarging it before removal because enlargement cannot recover missing edge detail.
Background Remover or Transparent Image Maker?
Both tools can produce an image with transparency, but they solve different starting conditions. Choose according to what must remain unchanged.
| Decision | Background Remover | Transparent Image Maker |
|---|---|---|
| Starting point | One existing photo, logo, product image, portrait, or graphic | A written idea or an existing image that can guide a new version |
| What happens | Separates the existing foreground and makes the surrounding background transparent | Creates a new transparent image from text or generatively rebuilds an uploaded reference |
| Source fidelity | Prioritizes the recognizable subject already present in the source | Prioritizes a newly generated result, so lettering, texture, and small details may vary |
| Best choice | Product labels, signatures, logos, portraits, documents, and photos where the original itself is the asset | New objects, characters, stickers, effects, illustrations, or alternate versions that do not exist yet |
Use a simple rule: if the uploaded image is already the asset you want, remove its background. If the image is only a reference for a new transparent asset, remake it. If no source image exists, create from text.
Where Background-Free Images Work Best
Direct background removal is most valuable when the foreground already carries the identity, detail, or information that must move into a new layout.
Product catalogs and store layouts
Remove the original setting from product shots so the same item can be placed across listing cards, comparison graphics, seasonal campaigns, and consistent catalog layouts. Keeping the product recognizable is especially important when packaging, labels, materials, and proportions represent the item being sold.
Portraits and profile images
Isolate a person for a team page, speaker card, profile graphic, thumbnail, or presentation. A transparent cutout can move between brand colors and layouts without repeating the original room, wall, or outdoor scene behind the subject.
Logos, signatures, and document elements
Remove paper, scan, or flat-color backgrounds from marks that need to sit over another document or design. Use a clear, high-contrast source and review small lettering carefully. The direct-removal workflow is a better fit than a generative remake when the original mark must stay recognizable.
Compositing and image-to-3D preparation
A background-free subject is easier to position inside a new design and can provide a cleaner starting image for workflows that need a clearly isolated object. Use the cutout in presentation scenes, marketing compositions, thumbnails, or as an input to the AI 3D Model Generator when the subject is suitable for image-to-3D.
Review the Transparent Result Before Reuse
A short visual check confirms that the transparent cutout works on the backgrounds and at the size where it will actually appear.
Test both light and dark backgrounds
The checkerboard preview represents empty pixels; it is not part of the downloaded image. Place the cutout over both a light and dark color to make pale halos, dark fringes, missing details, and semi-transparent edges easier to see than they are over a single preview background.
Inspect the details that carry identity
Zoom in on facial features, product labels, jewelry, hands, hair, logos, and narrow parts, then view the image at its intended display size. An edge that looks prominent at high zoom may disappear in a small card, while a missing product corner can remain noticeable at every size.
Keep the result in PNG for transparency
Converting the file to JPG removes alpha transparency and usually fills the empty area with a solid color. Some viewers display transparent pixels over white, so a white-looking preview does not always mean the background returned. Test the PNG over a colored layer before processing it again.
Frequently Asked Questions About Removing Image Backgrounds
Practical answers about free access, supported uploads, foreground preservation, transparent output, difficult edges, and choosing the right tool.
Continue Your Image Workflow
Use the preserved cutout as-is, create a new transparent variation, build a complete scene, or use a clearly isolated object as an image-to-3D starting point.
Transparent Image Maker
Create a transparent image from text or generatively remake an existing source when you want a new interpretation.
AI Image Generator
Build a complete image or scene when transparency is not the final goal.
AI 3D Model Generator
Use a clearly isolated subject as a cleaner starting image for an image-to-3D workflow.
Remove the Background, Keep What Matters
Upload your image at the top of the page, let AI isolate the foreground, and download a transparent PNG ready for the next layout. Try the Background Remover free.
Try Background Remover Free