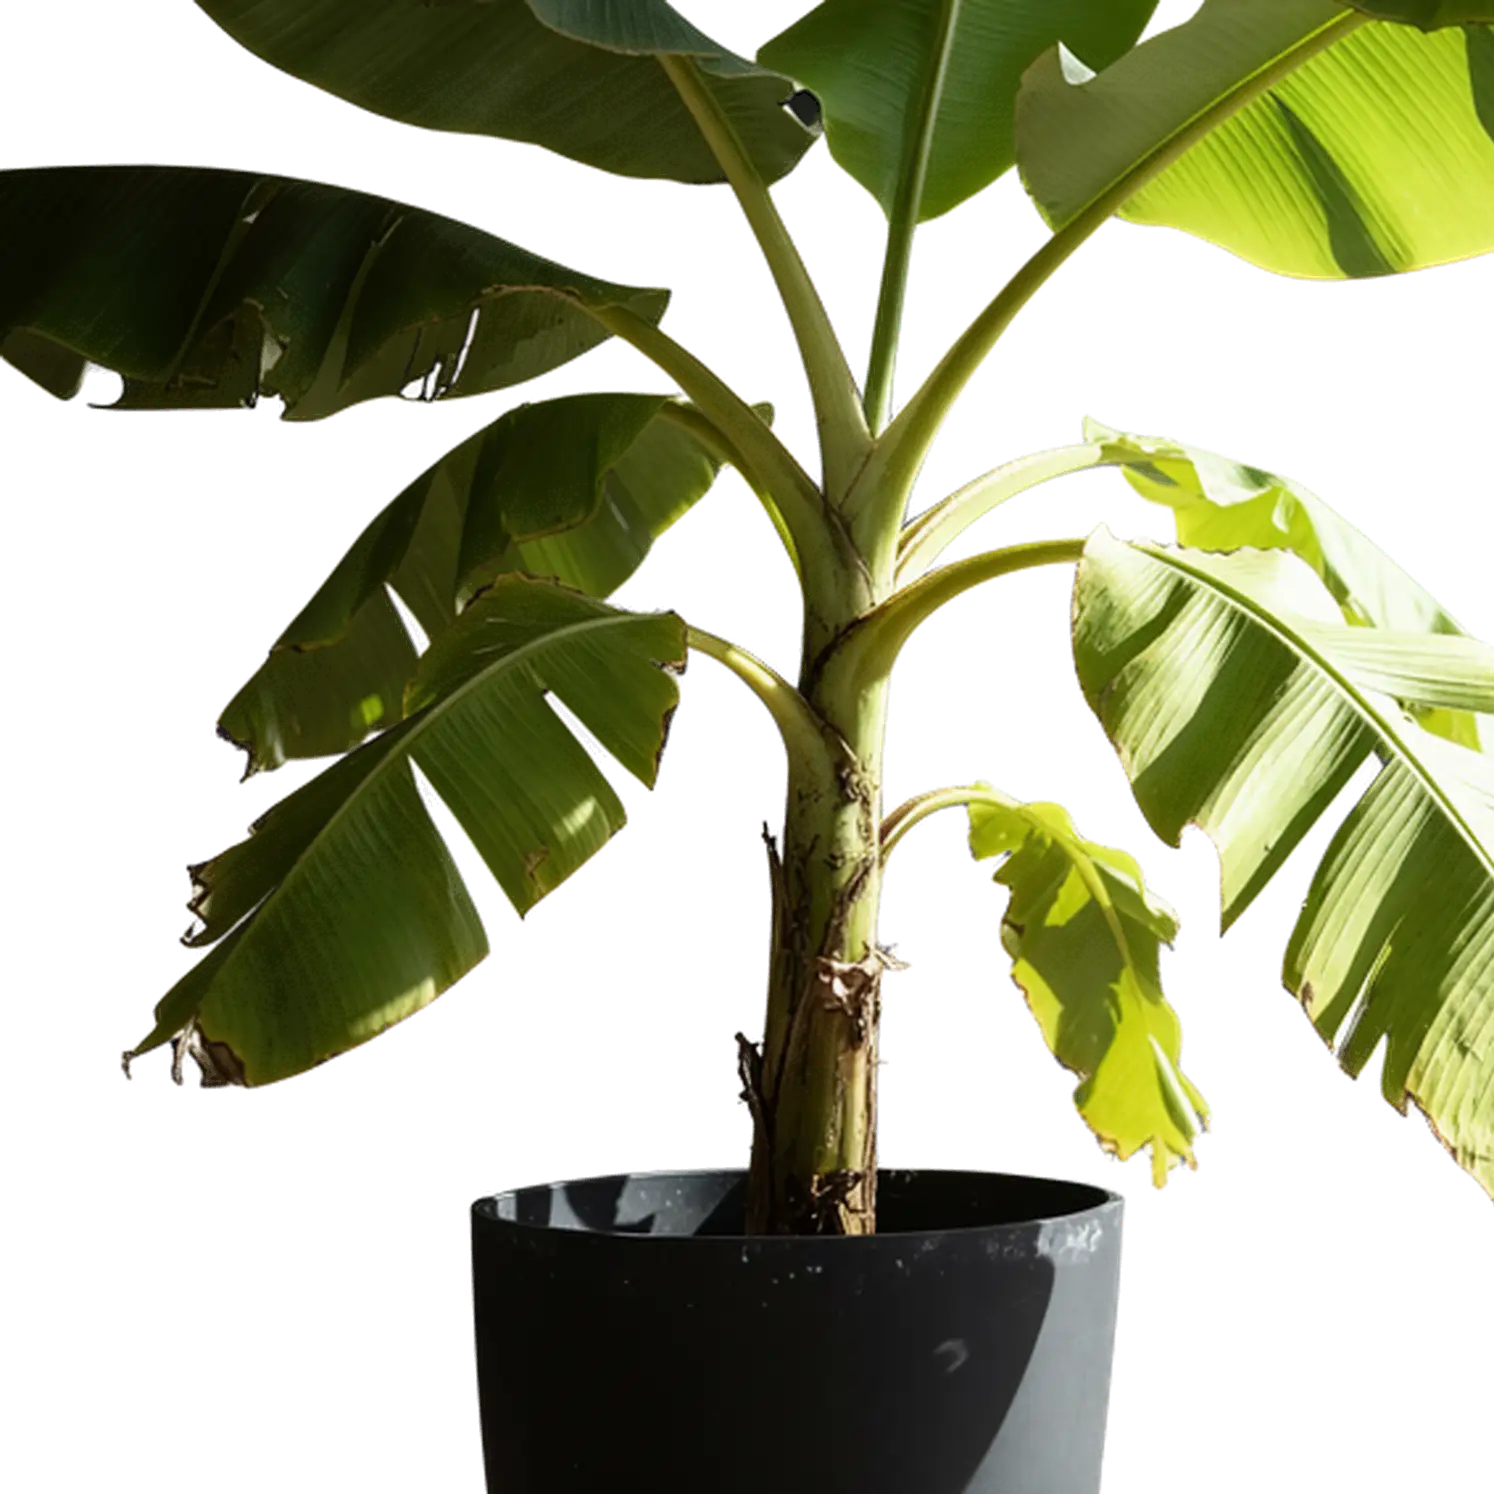
Transparent Image Maker: Create from Text or Remake Images
The Transparent Image Maker from Make Image Transparent is an AI tool for designers, sellers, and creators who need transparent PNG images from either a written idea or an existing picture. Choose Create from Text when you need a new visual. Choose Remake Image when you want AI to rebuild an uploaded image on a transparent background. If your priority is to keep the original image unchanged and only remove its background, use Background Remover instead.
Two Ways to Use the Transparent Image Maker
Not every transparent asset begins with a finished photo. Start from the material you actually have: a written idea or an image worth rebuilding.
Create from Text
Choose Create from Text when the image does not exist yet. Describe the subject, visual style, angle, materials, lighting, and composition. The tool creates a new transparent PNG image that can be placed over a website section, product layout, presentation, thumbnail, poster, or video frame. You control the direction through words and can generate another interpretation when you want to explore a different look or arrangement.
Remake Image
Choose Remake Image when you already have a useful picture but want AI to reconstruct its foreground as a transparent asset. Upload one source image, select the aspect ratio and resolution, and create a new version without the original environment around it. This is a generative remake rather than a simple background deletion step, so the result follows the source while gaining a newly reconstructed transparent edge.
How to Create the Right Transparent Image
The tool is at the top of this page. Four decisions take you from the right starting point to a transparent result that fits the final layout.
Choose your starting point
Select Remake Image for an existing picture or Create from Text for a new idea. Making this choice first determines whether the tool should follow a visual reference or build the asset from your description.
Prepare the input
Upload a clear PNG, JPG, or WEBP file for Remake Image. For Create from Text, describe what should appear in the image instead of explaining the larger project around it.
Set shape and resolution
Choose an aspect ratio for the destination layout, then select 1K, 2K, or 4K resolution. Plan the canvas before generating so the subject does not need an awkward crop later.
Review and download
Inspect the result over the checkerboard preview, check the subject edges and important details, then download the transparent PNG image. Adjust the input when you want another interpretation.
Plan the Asset Around Its Final Layout
A useful transparent image needs the right framing as well as an empty background. The Transparent Image Maker lets you plan the composition before generation instead of forcing the finished asset into the wrong shape.
Square and centered
Use a square layout for centered objects, avatars, stickers, app graphics, product tiles, and design elements that need balanced space on every side.
Portrait and vertical
Choose a taller frame for characters, fashion items, plants, packaging, and full-body subjects. The extra height keeps the complete form visible without excessive space at the sides.
Wide and horizontal
Use a wide layout for banners, title decorations, clouds, smoke, light effects, or object arrangements designed to sit above, below, or beside other content.
Leave purposeful transparent space when the asset will sit beside a headline, button, price, or other design element. Use a tighter frame when the subject needs to fill an icon, card, or thumbnail. Auto is useful when the uploaded source should guide the output shape.
Write Better Directions for Create from Text
A strong description is specific about the visual and flexible about details that do not matter. Give the tool a clear subject, a coherent look, and a composition it can actually build.
Subject
Name the main object, person, character, symbol, or effect. Keep one visual priority instead of combining several unrelated ideas in the same request.
Appearance
Describe the style, colors, clothing, surface, or defining traits that make the subject recognizable. Use concrete visual language instead of strings of generic quality words.
View
Choose a front, side, three-quarter, top-down, or close-up angle when the viewpoint matters. A defined view makes separate assets easier to use as a coordinated set.
Light and materials
Mention soft light, glossy plastic, brushed metal, glass, fabric, smoke, or another material quality. Light and surface language give the image a more consistent visual identity.
Composition
Say whether the subject should be centered, full-body, isolated, symmetrical, tightly framed, or surrounded by open transparent space for later layout work.
When creating a series, repeat the important style rules across each description: the same viewpoint, color family, material language, lighting direction, subject scale, and amount of transparent padding. Consistent instructions make separate outputs easier to combine.
Choose Better Source Images for Remake Image
A clear source gives the transparent image maker better information about shape, color, materials, and composition. The goal is not a studio-perfect photo; it is an unambiguous foreground the AI can rebuild.
A stronger source image
- Shows the complete intended foreground without cropped hands, product corners, accessories, or other details that should remain visible.
- Keeps the main silhouette easy to understand, especially around hair, fur, leaves, fabric, glass, smoke, and other soft or translucent edges.
- Makes lettering, logos, textures, and repeated patterns large enough to read when those details are important to the overall identity.
- Keeps multiple foreground objects clearly arranged when they belong together, instead of blending them into unrelated background clutter.
When exact preservation matters
Remake Image builds a new version from the reference, so fine lettering, tiny logos, repeated patterns, and small textures may vary. For a product label, signature, document, or brand mark that must remain exactly as uploaded, use Background Remover. Choose Remake Image when a cleaner generative reconstruction is the better result.
Use Background RemoverChoose the Right Transparent-Image Workflow
Create from Text, Remake Image, and Background Remover solve three different starting conditions. Pick by what must remain, not by which tool name sounds broader.
| Workflow | Starting point | What it does | Best for |
|---|---|---|---|
| Create from Text | A written description | Creates a new visual directly on a transparent background | Original objects, characters, icons, stickers, props, effects, and design elements |
| Remake Image | One existing image | Rebuilds the intended foreground as a new transparent PNG image | A reference that should guide a cleaner isolated version while keeping its overall identity and composition close |
| Background Remover | One existing image | Removes the background while keeping the original image unchanged | Photos, logos, labels, signatures, product shots, and assets where source fidelity matters most |
Create when no source exists, remake when a source should guide a new transparent version, and remove the background when the original itself is already the asset you want.
Set Aspect Ratio and Resolution Before You Generate
Resolution should match the job, not just the idea that a larger file is always better. Choose the level that gives the current asset enough room for its intended placement.
1K for drafts and small placements
Use 1K for early concepts, quick visual exploration, thumbnails, interface elements, and other smaller digital placements.
2K for flexible design assets
Choose 2K when you want a versatile transparent image for common website, presentation, advertising, and social layouts.
4K for larger compositions
Choose 4K when the subject needs more room for a large placement, closer inspection, or another editing stage after download.
The available controls show the aspect ratios and resolution choices supported by the tool. For related assets, keep the output settings and subject scale consistent so the set feels intentional even when individual canvas orientations change.
Create Reusable Transparent Asset Sets
A single transparent image solves one layout. A coordinated set can support an entire project. Use the transparent image maker to build assets that share a visual system instead of collecting unrelated one-off results.
Campaign variations
Create the same type of object in coordinated colors, angles, or materials for ads, landing pages, email graphics, and seasonal promotions. Keep the framing rules consistent so one version can replace another without rebuilding the layout.
Icons and interface elements
Define a common viewpoint, stroke weight, material, light direction, and transparent padding. Repeat those rules across each subject to create interface illustrations or game items that feel like one family.
Characters, stickers, and props
Build poses, expressions, objects, or accessories around the same visual direction. Transparent output makes each element easier to layer into thumbnails, social graphics, story panels, and presentation scenes.
Overlays and compositing elements
Create smoke, clouds, light, particles, fabric, foliage, and other isolated elements for photos or video frames. Match the final composition's perspective and lighting so the added asset belongs in the scene.
Transparent Image Maker: Practical Questions
Straight answers about the two modes, supported inputs, transparent output, and choosing the right workflow.
Continue Your Transparent Image Workflow
Keep the original pixels, create a complete scene, or turn an isolated subject into a downloadable 3D model.
Create Your Next Transparent Image
Start with a written idea or an image you already have. Choose the workflow that matches the result you need, set the shape and resolution, and create a transparent PNG image ready for your layout.
Try the Transparent Image Maker for Free